How to Connect an AI Agent to WordPress Using MCP?
Most WordPress workflows still run the same way they did a decade ago, like logging in, clicking through menus, and publishing manually. That's changing fast.
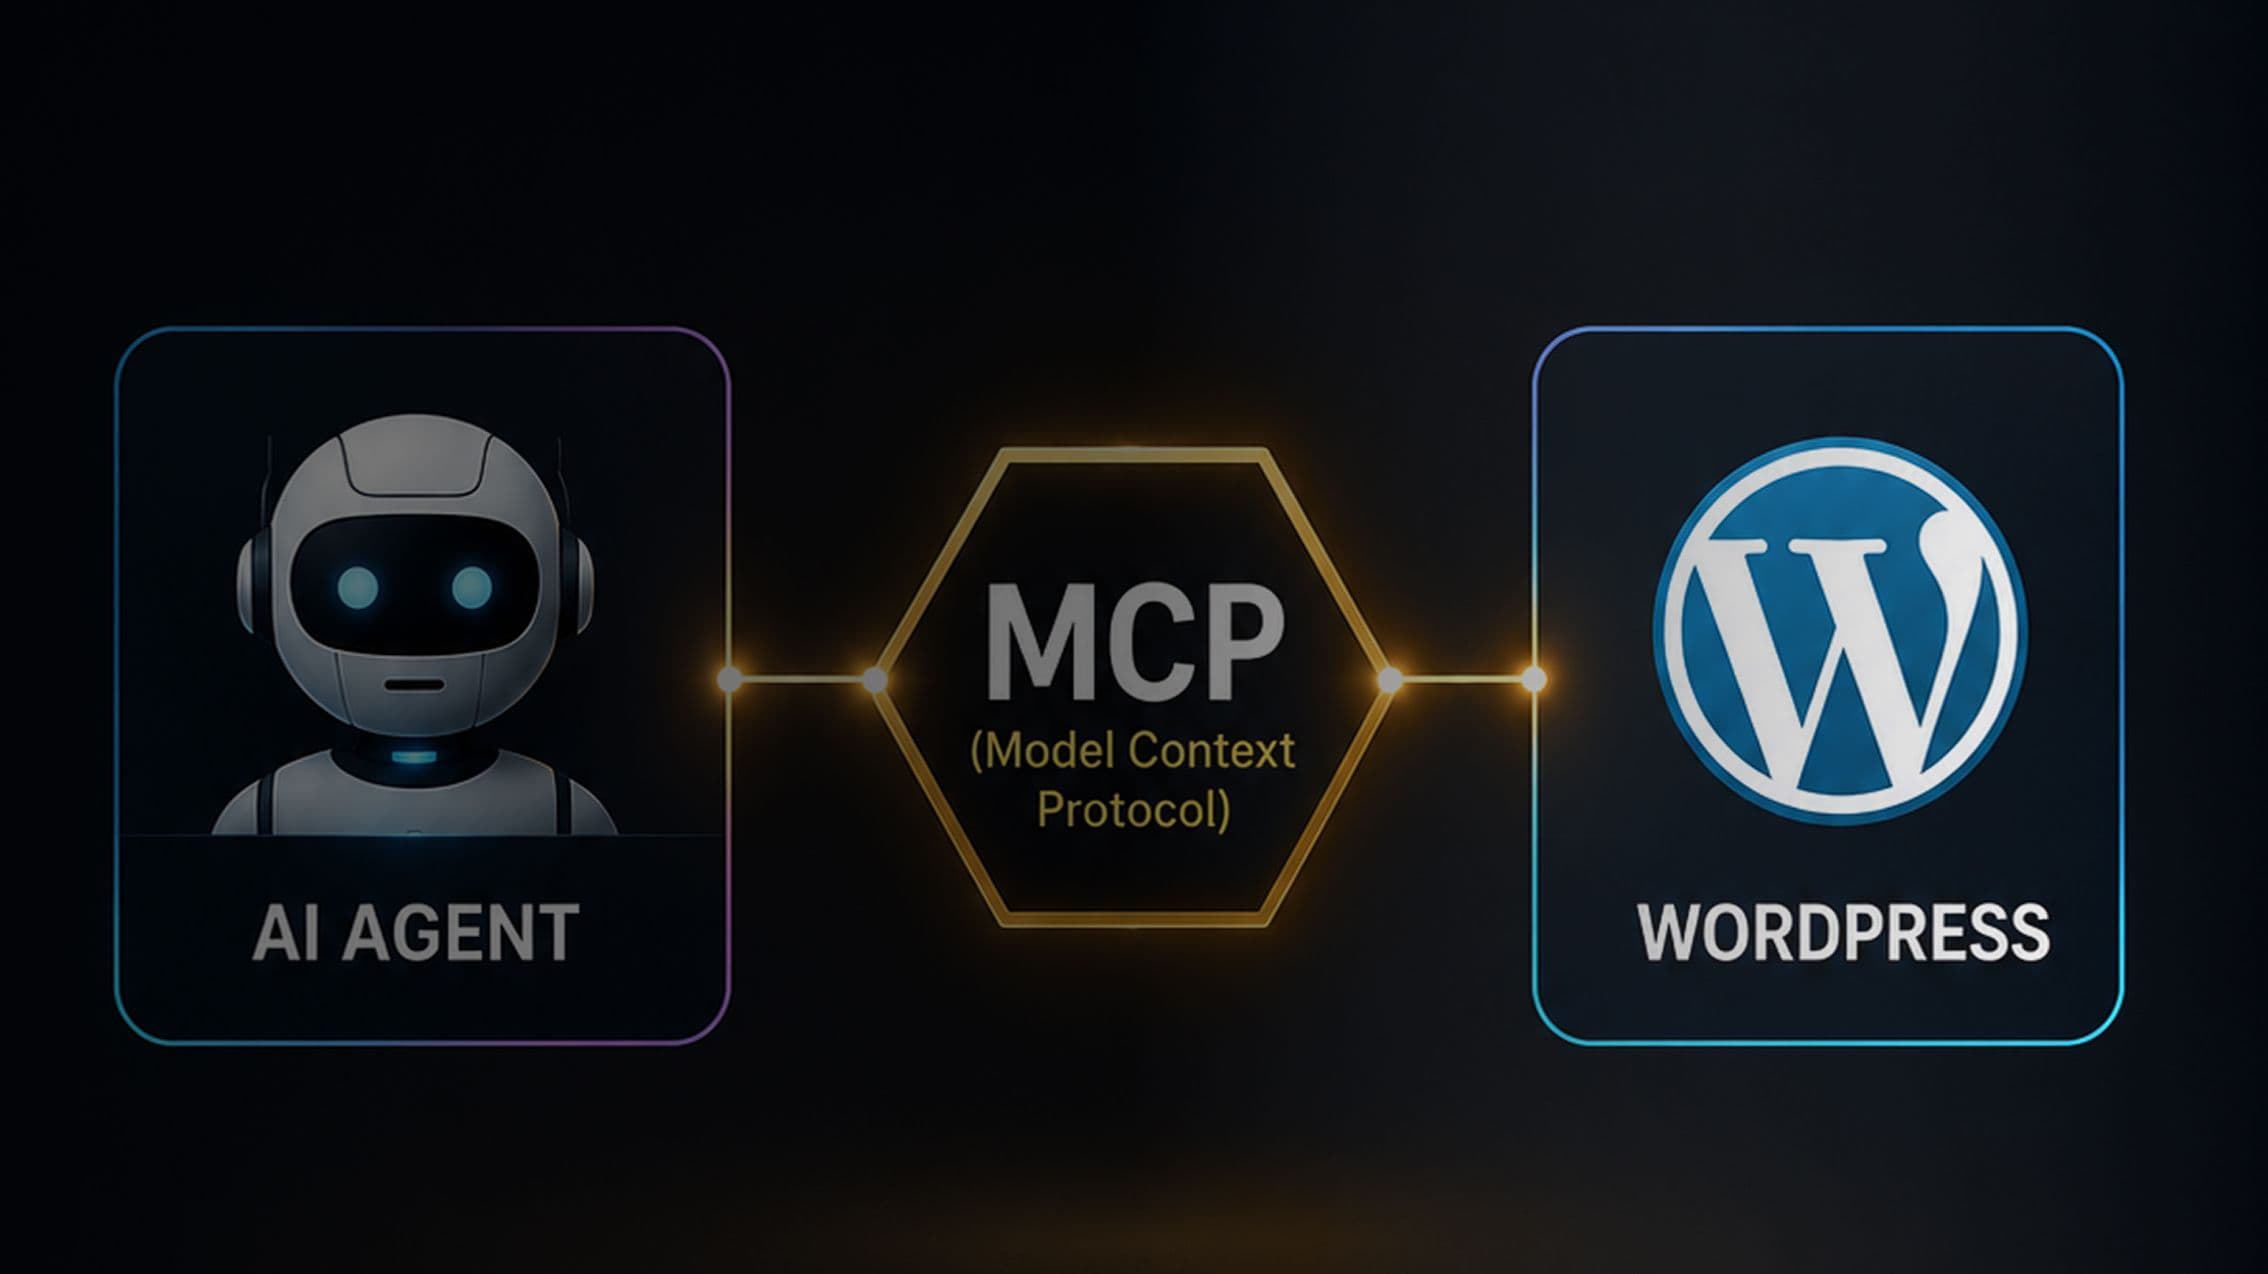
A plugin called the MCP Adapter now lets AI tools like Claude or Cursor act on your site directly, drafting posts, updating settings, and running tasks through plain conversation instead of copy-paste.
This guide shows you how to connect an AI agent to WordPress using MCP. You'll go from setup to a working connection with ease.
Key Takeaways
- MCP lets AI agents operate WordPress directly, not just generate text for it.
- An Application Password, not your login password, keeps the connection secure.
- Claude Code, Cursor, and Gemini CLI all work as MCP-compatible clients.
- WordPress 7.0 and Node.js 18+ are required before setup starts.
- Developers can register custom abilities to expose plugin features to agents.
- The full setup takes under 15 minutes once the credentials are ready.
What Is Model Context Protocol (MCP)?
Model Context Protocol is an open standard that lets AI applications discover and call outside tools in a structured way.
Instead of you pasting content into some chat window, an AI agent queries your WordPress site, reads the info there, and then triggers real actions on your behalf.
MCP arranges the whole thing into tools, resources, and prompts, so the AI gets a dependable map of what your site can actually do.
Key Benefits of Using MCP for WordPress AI Integration
Once the adapter is live, daily site work changes noticeably. Here's what actually improves:
Faster Content Management
An agent can draft, edit, and schedule posts through plain conversation, skipping repetitive clicks. Tasks that once took ten minutes now take one typed sentence.
Natural Language Website Control
Instead of memorizing those menus, you describe what you want in plain English. The agent then automatically translates it into the right WordPress action, so you don't need code.
Automated Administrative Tasks
User management, settings updates, and taxonomy changes can run through the agent, freeing admins from routine clicks on busy multi-author sites.
Improved Developer Productivity
Developers can expose custom plugin abilities as MCP tools, letting AI test functionality directly and shortening the loop between coding and verifying it.
Secure AI-to-WordPress Communication
MCP relies on application passwords or token authentication rather than shared logins, so every action stays scoped to real user permissions.
Prerequisites Before Connecting an AI Agent to WordPress
Before learning how to connect an AI agent to WordPress using MCP hands-on, gather these essentials first. Missing even one will stall the setup halfway through.
- WordPress 7.0+: Older versions don't ship the Abilities API or MCP Adapter support needed for agent communication.
- Admin access: Required to install plugins, generate application passwords, and configure connector settings.
- One AI provider API key: Anthropic, OpenAI, or Google, only one is needed.
- An MCP-compatible client: Claude Code, Cursor, or Gemini CLI all work as the tool that talks to your site.
- Node.js 18+: The connector script runs through npx during setup, so the runtime must be installed locally.
Understanding the Core Components
Three components are essential to this system.
1. The Credentials Layer
This is where your AI provider's API key and WordPress application password are both stored securely.
2. The Abilities Registry
A catalog of everything your site can do, from creating posts to reading settings.
3. The MCP Adapter
The bridge plugin translates registered abilities into a format that AI clients can call.
Here's an easy comparison: the registry is your site's resume, and the adapter is the phone line that lets an agent call and use it.
6 Steps Guide About How to Connect an AI Agent to WordPress Using MCP
Follow these 6 steps to see how to connect an AI agent with WordPress using MCP in practice. Skipping ahead usually causes confusing errors later.
Step 1
Install and Activate the MCP Adapter
Download the latest release ZIP from the official WordPress GitHub repository, upload it via Plugins → Add New → Upload Plugin, then activate.
Step 2
Add Your AI Provider API Key
Open your chosen client's settings and paste in your Anthropic, OpenAI, or Google key. This authenticates the agent itself, separate from your site login.
Step 3
Generate an Application Password
Go to Users → Your Profile, scroll to Application Passwords, name it "MCP Integration," and copy the password immediately, since it won't show again.
Step 4
Configure Your MCP Client
Add your site's MCP endpoint URL and application password inside the client's MCP server's JSON config block.
Step 5
Test the Connection
Start a fresh chat and ask the agent what abilities it sees. A working setup returns a clear tool list within seconds.
Step 6
Run a Real Action
Ask the agent to create a draft post, then confirm it in WP-Admin under Posts. That confirms the full chat-to-WordPress loop is working.
Troubleshooting Common Issues
Most failures trace back to a few repeat causes. Here's how to spot each one and fix it fast.
- A "Couldn't reach the MCP server" message usually means the endpoint URL is wrong, or a host firewall is blocking the request before it even lands.
- A 401 error almost always indicates an expired application password; regenerate it and reconnect.
- Certificate problems on a local setup usually show up because Node won’t trust a self-signed SSL certificate, and it gets stuck there.
- Multiple Node versions via nvm can silently run the wrong binary, breaking the connector without any obvious warning.
- CDNs and security plugins can stop AI connections. Add your AI client to the whitelist if needed.
What Happens After You're Connected?
Once the basics work, this pattern extends well beyond posts and drafts. Your agent's toolkit keeps growing as more of the WordPress ecosystem catches up.
Growing Plugin Support
Commerce, forms, and SEO plugins add their own capabilities, expanding your agent's toolkit without extra installs.
A store plugin might soon let your agent update stock or check orders, while a forms plugin lets it read new submissions, all through the same connection you already set up.
What to Watch for
Review which abilities stay exposed as your site grows, because more available tools also mean a larger surface to secure.
Regularly review which abilities are public and disable the ones you no longer need. Keep credentials limited and secure as you add new plugins.
Conclusion
Connecting an AI agent through MCP changes how you manage WordPress. Your dashboard becomes something you can interact with using simple conversations.
Once the adapter is installed and authenticated, routine publishing and admin work shrink into a short conversation. Start small, test with safe, read-only abilities, then expand as confidence grows.
Understanding how to connect an AI agent to WordPress using MCP puts your entire site one sentence away from getting things done.

Usama Shareef
Usama Shareef is the COO of Mahraj Technologies, bringing strong expertise in SEO content writing, software QA, and development testing. He specializes in delivering high-quality digital solutions with a focus on performance, accuracy, and scalable growth